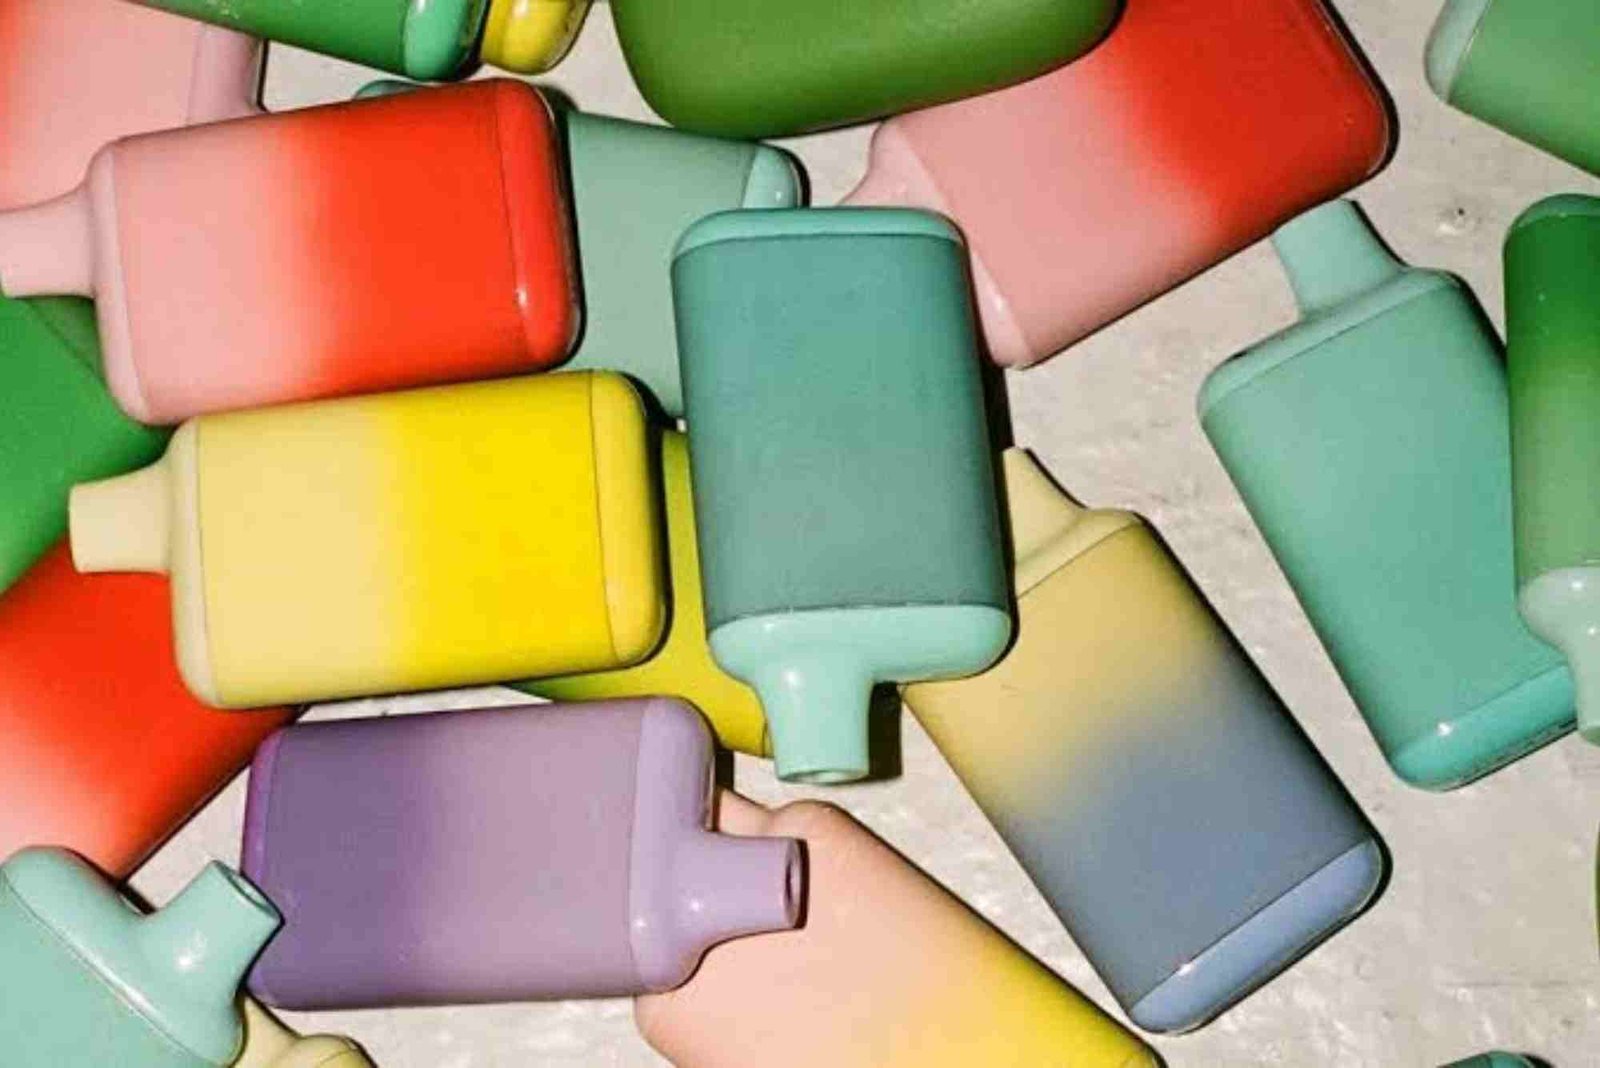
Understanding Vape Coils and When to Replace Them
Vaping has become a popular alternative to traditional smoking, offering users a customizable and often less harmful experience. However, to enjoy vaping fully, understanding your device’s components is crucial. One such key component is the vape coil. Whether you are a beginner or an experienced vaper, knowing when and how to perform a vape coil replacement can save you from unpleasant flavors and maintain your device’s performance.
What Is a Vape Coil?
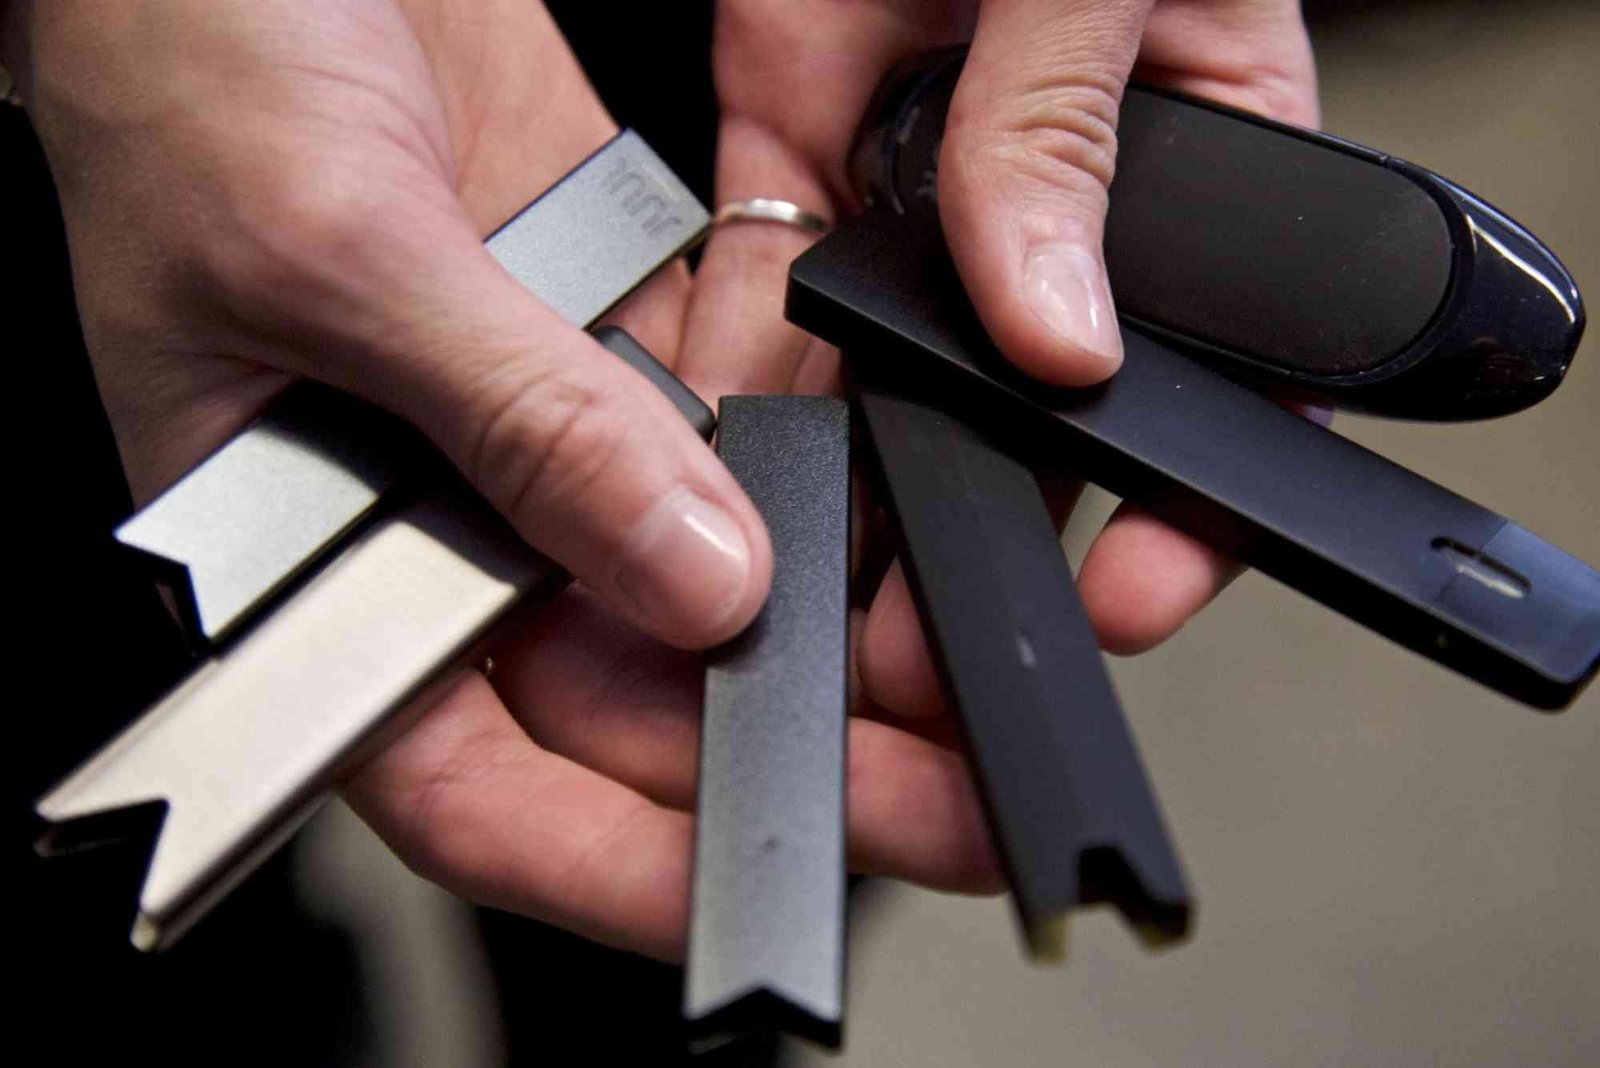
At its core, a vape coil is the heating element inside your vape device. It’s responsible for turning the e-liquid into vapor. This coil consists of wire wrapped into a coil shape and a cotton wick that absorbs the e-liquid. When the device activates, electricity heats the coil, which then vaporizes the liquid absorbed in the wick.

Because of this function, the coil directly influences flavor, vapor production, and overall satisfaction. Without a properly working coil, vaping experiences degrade rapidly.
Why Vape Coils Wear Out
Vape coils are consumables, meaning they don’t last forever. Several factors cause coils to wear out:
- E-liquid Composition: Sweet or thick liquids tend to gunk up coils faster.
- Usage Frequency: Heavy users burn through coils quicker than occasional vapers.
- Wattage Settings: Using higher wattage than recommended shortens coil life.
- Maintenance Habits: Regular cleaning and proper priming extend coil longevity.
Over time, the coil’s wire and wick degrade, reducing its ability to heat efficiently and absorb e-liquid properly.
Signs You Need a Vape Coil Replacement
Recognizing when your vape coil needs replacing is vital. Using a coil beyond its prime leads to poor flavor, burnt taste, and even health risks from inhaling burnt material.
Burnt or Off Taste
The most common and obvious indicator is a burnt or harsh taste when you inhale. This usually means the cotton wick is scorched or dried out. Continuing to vape with a burnt coil will only worsen the flavor and could damage your device.
Reduced Vapor Production
If you notice significantly less vapor or thinner clouds than usual, the coil might be clogged or worn out. A healthy coil produces thick, consistent vapor, so a drop in production signals it’s time for a replacement.
Gurgling or Leaking Tank
A faulty coil can cause the tank to gurgle or leak e-liquid. This happens when the coil’s wick doesn’t absorb liquid properly, leading to flooding or leaking around the tank base.
Increased E-Liquid Consumption
If your vape suddenly uses more e-liquid without producing more vapor or flavor, the coil might be struggling. This inefficiency often points to the coil nearing the end of its life.
Darkened or Burnt Wick
If you disassemble your tank and see that the wick inside the coil is dark or blackened, it’s a clear sign the coil needs changing. This buildup not only affects taste but also impairs performance.
How Often Should You Replace Your Vape Coil?
The lifespan of a vape coil varies widely depending on several factors, but generally, most coils last between one and two weeks. Some might last shorter or longer depending on usage patterns.
For example, if you vape frequently throughout the day or use sweet and thick e-liquids, expect to replace coils more often. Conversely, occasional vapers who stick to simpler e-liquids might extend their coil life. Rather than following a strict timeline, it’s better to rely on the signs mentioned above. Regularly assessing flavor, vapor production, and any unusual noises helps determine the right moment for vape coil replacement.
Steps for Proper Vape Coil Replacement
Replacing a vape coil might seem intimidating at first, but it’s a simple process once you understand the steps. Proper coil replacement also ensures you avoid dry hits and prolong coil life.
Prepare Your Device
Before replacing the coil, remove your vape tank from the battery or mod to avoid accidental firing. Make sure your hands are clean and dry.
Remove the Old Coil
Unscrew the tank base to access the coil. Depending on your device, the coil may either unscrew or pull out from the base or the tank itself. Remove the old coil carefully and dispose of it responsibly.
Prime the New Coil
Priming is essential to avoid dry hits and burnt cotton. Apply a few drops of e-liquid directly onto the cotton wick of the new coil. This saturates the wick and prepares it for vaporization.
Install the New Coil
Insert the primed coil back into the tank or base and screw it in place firmly but without overtightening. Make sure it fits securely to avoid leaks.
Fill Your Tank and Wait
Fill the tank with your preferred e-liquid. Let the device sit for about 5 to 10 minutes to allow the new coil to fully absorb the liquid. This resting time is crucial for a smooth vaping experience.
Start Vaping Gently
Start with low wattage or power settings and take short, gentle puffs at first. Gradually increase the power as you get comfortable, ensuring you don’t burn the new coil prematurely.
Tips to Extend the Life of Your Vape Coil
Replacing coils frequently can get expensive and inconvenient. Luckily, a few simple habits can help you make the most of each coil.
- Choose the Right Wattage: Always use wattage within the coil’s recommended range.
- Use High-Quality E-Liquid: Avoid thick or sweetened juices that gunk up coils quickly.
- Prime Your Coil Properly: Never skip priming when installing a new coil.
- Clean Your Tank Regularly: Residue buildup in your tank affects coil performance.
- Avoid Chain Vaping: Give the coil time to wick e-liquid between puffs.
- Store Device Upright: Prevent leaks and flooding that harm the coil.
By following these tips, you can significantly extend coil life and enjoy better flavor and vapor production.
The Importance of Vape Coil Replacement for Health and Safety
Continuing to vape with an old or burnt coil isn’t just unpleasant; it can be harmful. When coils deteriorate, they can release burnt material and chemicals that irritate your throat and lungs. Additionally, poorly functioning coils may cause your device to overheat, posing safety risks.
Timely vape coil replacement ensures you vape clean vapor and protect your health while maintaining the device’s efficiency.
Keep Your Vaping Experience Smooth with Timely Vape Coil Replacement
Understanding vape coils and knowing when to replace them is essential for any vaper. A fresh coil guarantees better flavor, thicker vapor, and a safer vaping session. Always pay attention to signs like burnt taste, reduced vapor, or leaks to avoid vaping frustration.
If you want to enjoy your vape to the fullest, replace coils regularly and maintain your device properly. Your taste buds and lungs will thank you. Ready to enhance your vaping experience? Check out our range of premium vape coils and keep your device performing at its best!
FAQ
How do I know when to replace my vape coil?
Replace your vape coil when you experience a burnt taste, reduced vapor, leaking, or unusual noises from the tank. Darkened wick cotton also signals it’s time.
Can I extend the life of my vape coil?
Yes, by using proper wattage, priming coils before use, avoiding thick or sweetened e-liquids, and regular cleaning, you can extend coil life.
What happens if I don’t replace my vape coil?
Using an old coil leads to bad flavor, less vapor, possible health risks from burnt residue, and device malfunction or leaks.
How often should I replace vape coils?
Typically, coils last 1-2 weeks depending on usage and e-liquid type. Watch for performance drops rather than strict timing.
Is priming a vape coil necessary?
Absolutely. Priming ensures the wick absorbs liquid before heating, preventing dry hits and extending coil life.
Can using wrong wattage damage my coil?
Yes, running your coil at too high wattage burns the wick and coil wire faster, leading to early failure.